Showing posts with label DIY. Show all posts

February 28, 2013

DIY: Hand Painted Kids Leggings


This project is so easy and takes no time at all.
I just grabbed some clean leggings that I already had and used them but Target always has a great selection for $4/each if you don't have any that you want to you for a project. 

What you'll need:
- plain pair of leggings
- fabric paint
- some kind of sturdy paper for your stencil (or an actual stencil if you have one you like)


Tape down your stencil over the knee of your leggings.
Make sure you tape it down so that it doesn't move around and mess up your paint.

Paint a few coats of paint.
I needed about 3 coats to cover the grey completely (only 2 for the turquoise leggings).


Do the same for both knees, remove the stencil and you're finished!


I did a bunch of different stencils and designs ( I think we must own a thousand pair of kid leggings) but the hearts were my favorite.
I did a pair of jeggings with polka dots, a triangle pattern all over, and stars on the knees. 
There really are endless options for designs!
The more unique the better! 


February 22, 2013

DIY: Embroidery Hoop Earring Holders


This is probably the simplest project ever and doesn't cost much at all!
I put these 3 together for less than $5!

I made one of these quite a few months ago and loved it so much that I made two more the other day!
And also because I always seem to somehow have more earrings...I wonder how that happens...
I love how delicate these look and also how effectively they hold my earrings!
As a mom I don't really have much time to pick out my accessories so I love that these are so easily on display to choose and grab.
Another nice thing is that since we live in a rather small apartment it's a good way of saving space!


Supplies: 
- Embroidery hoops (whatever size you like)
- Lace fabric (A smaller lace is better because the holes are closer together; holding earrings more securely)
- Scissors 
- Pen


1.) Take your hoop apart so you have two pieces; trace the outside of one of the hoops with about 1/4" extra lace (see next photo).

2.) Lay the lace in between your two hoops and pop the hoop back together and tighten the nut.

3.) Trim the extra lace (see next photo) so that your hoop will lay flat against the wall


And you're done!

Hang with a small nail in between the embroidery hoop screw.


February 19, 2013

DIY: Citrus Sea Salt Scrub


I've been making my own body scrubs for at least a year now but I think this is my new favorite recipe!
I know that there are body scrub recipes everywhere you look on the internet but I figured that since I was making a new scrub anyway, I would do a little diy too. 
I try to keep my skin exfoliated and moisturized all year but winter really just kills it no matter what.
Since we're going to Florida in a few weeks I wanted to give my skin a good exfoliation and get rid of all the dead and dry winter skin.
I usually use a finer salt or sugar in these scrubs since my skin is pretty sensitive but for this one I used a very coarse sea salt to really make sure I get good and exfoliated.  

This is such a simple recipe and uses just 4 ingredients from the kitchen! 
And it smells incredible!


1 cup coarse sea salt
1/4 cup oil (I usually use coconut oil but this time I used vegetable oil)
1 tsp lemon juice or zest (I used a little of both)
2 tsp orange zest 

Mix all your ingredients together and store in a container like a mason jar.
This recipe made two 8 ounce jars of scrub. 

I keep my jars right in the shower and after I shave I use them on my whole body (minus the face).
It feels so wonderful and your skin will feel like butter!
I would only use this a few times a week or less though since it's very coarse.
I would recommend using a finer sugar scrub most days and then exfoliate once or twice a week with this one.


I use this recipe for my daily sugar scrub:

February 7, 2013

Viv's First Birthday: Little Details

(click images to view larger)


With only about 8 hours to plan and create a small birthday party I will say that I'm pretty happy with how things turned out.
We wanted to keep a Valentines Day theme since that's what we were planning on doing a few weeks from now.
I spent less than $30 on decorations and not much more than that on food!
During the two parties we only had about 14 people over so it really was very small.
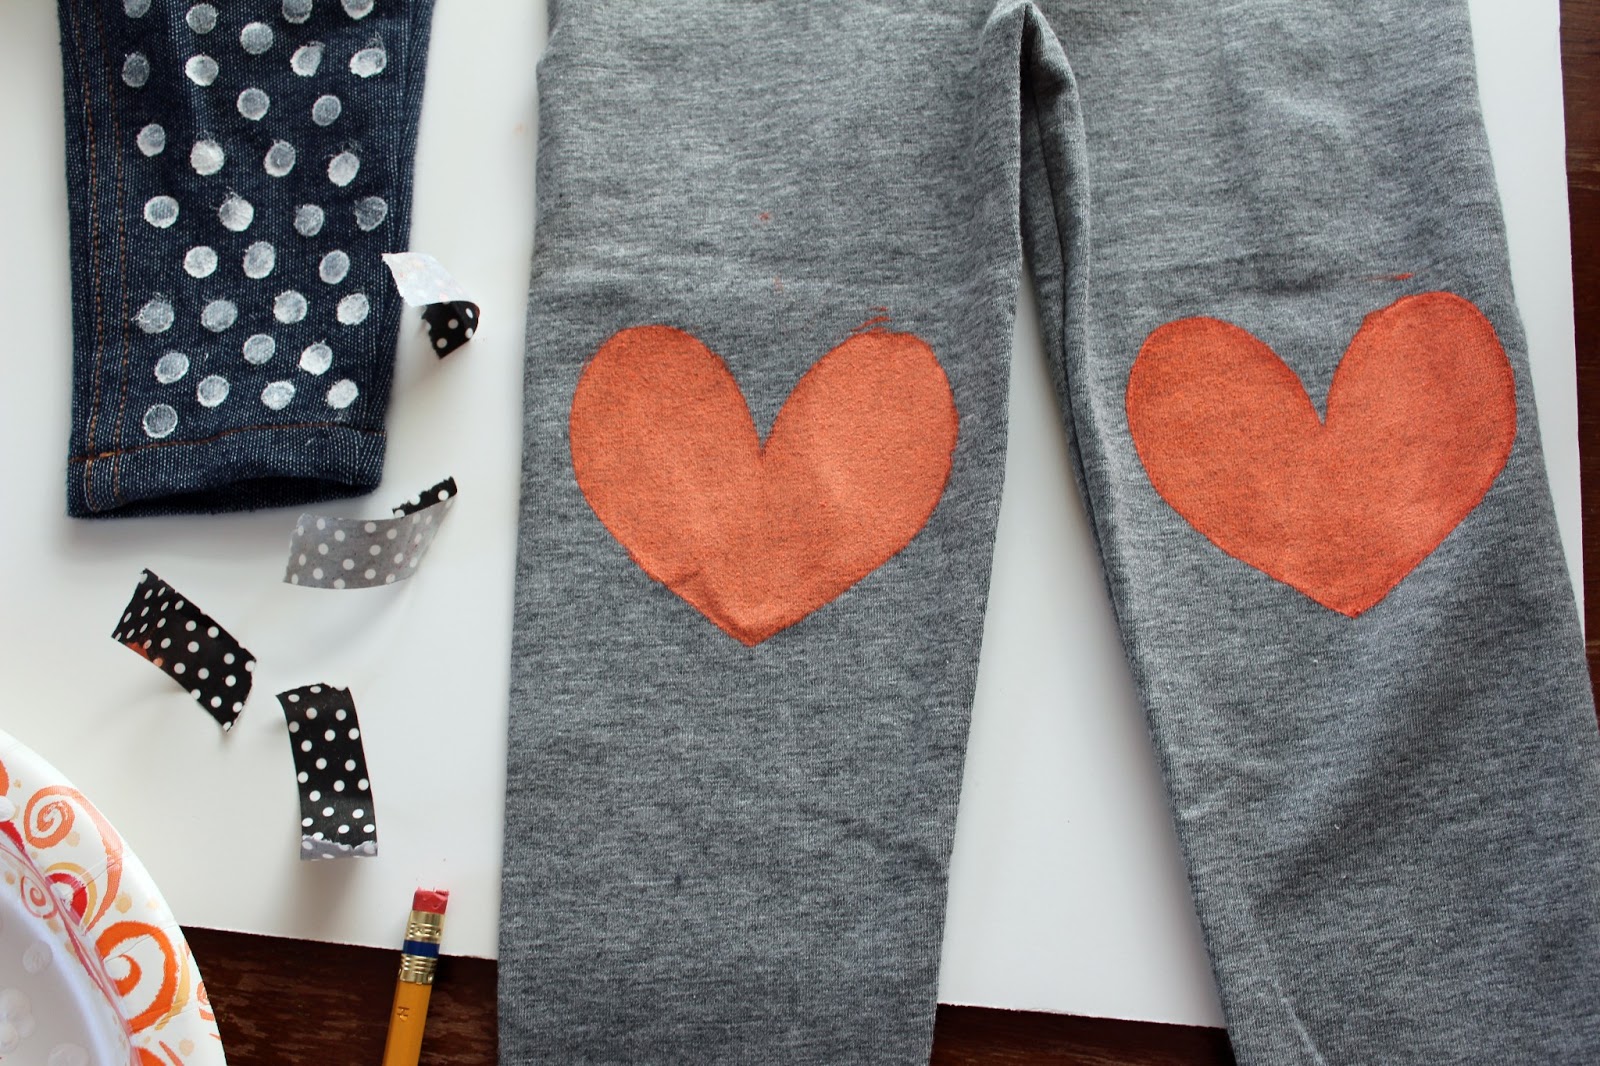
I always make it my goal to keep everything I do on a small budget and create as much as I can with my hands.
Not only because our bank account calls for some budgeting but because it's a hobby of  mine.
Whether it be clothing, home-decor, parties or whatever else it's always fun for me to go the extra mile to find things on the thrifty-side and create as much as I can on my own. 


Don't mind all of my crooked pictures frames. 
Viv's new favorite thing is to play with them so they're usually all over the floor.
That frame wall has got to go!


-----
crepe paper garland: 3 rolls of crepe paper at $.50 per roll
Tassel garland: plastic tablecloths $1 each and I used 3 tablecloths so that's $3 (each tablecloth made 4 garlands)
  Tissue paper flowers: already had the tissue paper
Balloons: $1 for a package of 12 - I bought 3 packages 
Heart shaped drink stirrers for decoration: $1 per package of 9 - I used 2 packages 
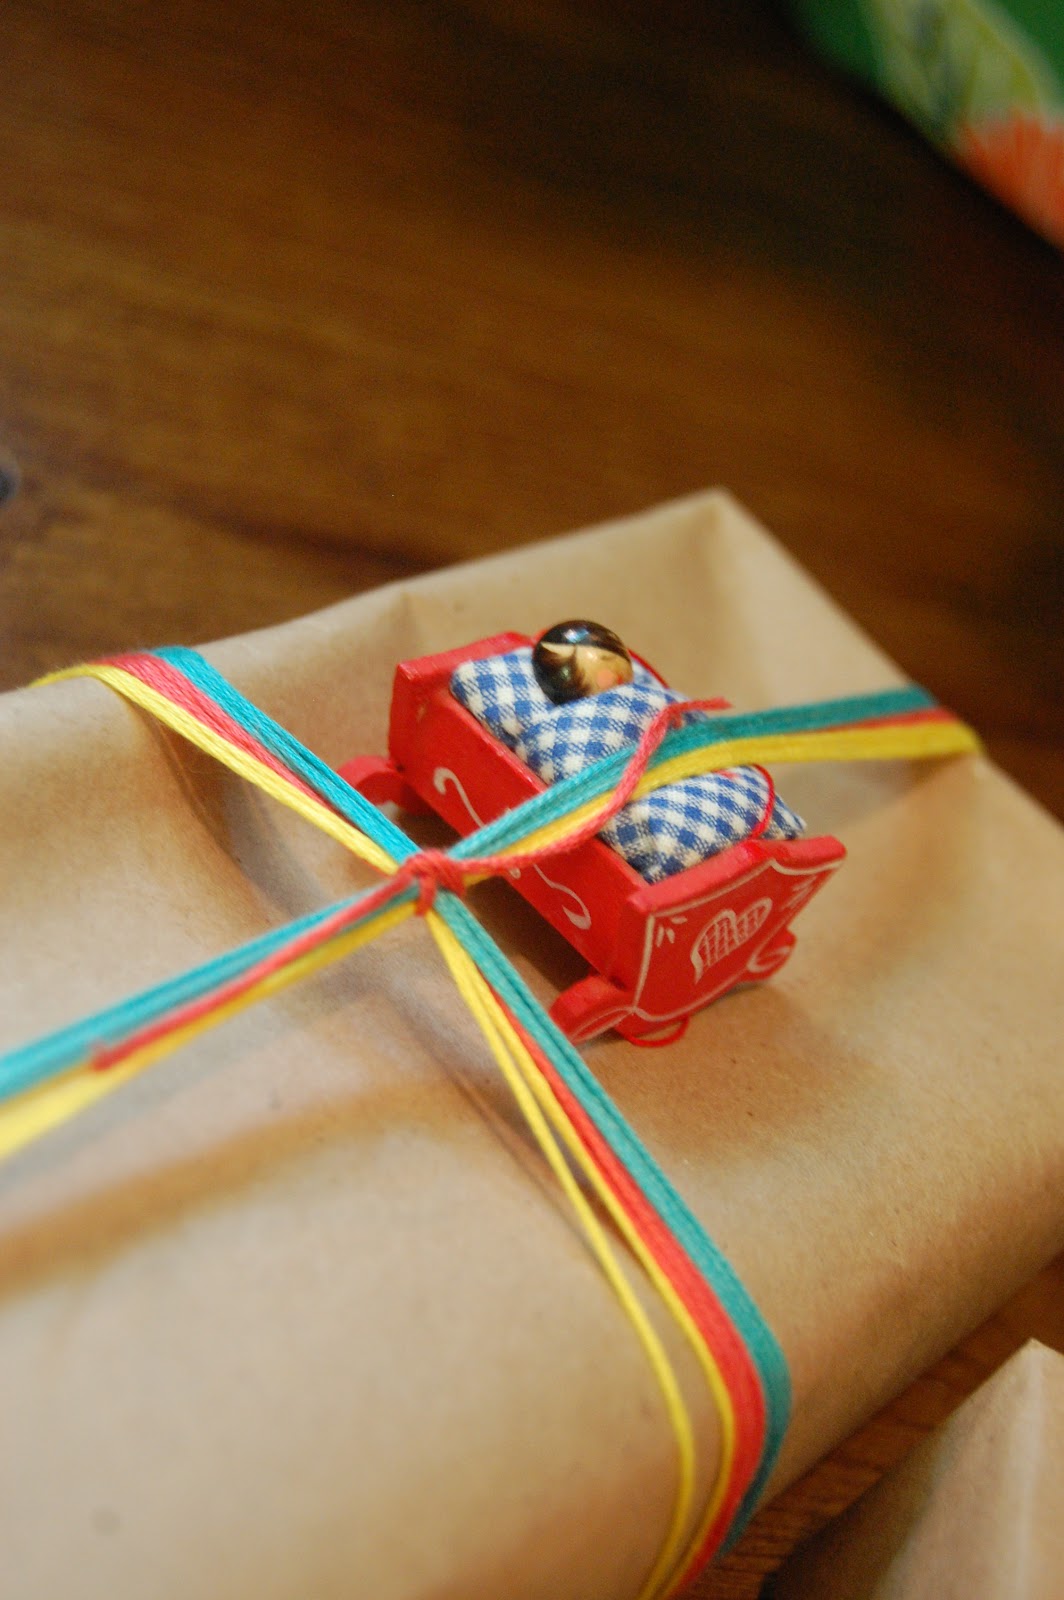
Treat bags for favors: $1 for 25
paper straws: Target: $1.97 for a package of 24
Plates, napkins and treat dishes: Target: $1 per package 
Large paper heart doilys (I used them with yarn to make garlands around the house): $1 for a package of 16
-----
Everything else I already had on hand and raced around finding things that matched the decor.
I cut out a bunch of hearts using different colors of construction paper and used for tags on the mason jars, on the favor bags, and for people to write notes to Viv on.
I kept everything extremely simple since I didn't have much time at all and I also had to cook and bake!
Her cake was really simple too - I just used 2 boxed cakes and a simple buttercream frosting and made some decorations for the tops using paper and some wooden skewers.

So it's not hard or stressful to plan a party if you keep things simple and easy! 

December 16, 2012

Brown paper packages tied up with string....


With all the inspiring wrapping that's been on Pinterest lately I decided to do some pretty wrapping of my own for Christmas this year! 
I really only took the time to wrap like this for my mom, mother-in-law, cousins and some of my friends. 
For everyone else I just did cute bright colored wrapping since they would just be ripping them open quick. 
It was so fun to put a little extra love into the gifts that I made and bought.
These are a few of my favorites. 

August 20, 2011

Home Inspiration: DIY Wreaths

Since we're going to be moving in a couple weeks to a bigger (and much better) apartment, I'm going to start incorporating some home design ideas and inspiration to my blog. My creative mind has been reeling for a month now with paint colors, DIY projects, design, etc. Now that I'm not working I'm totally going to be working on multiple different projects to make our new apartment our home. Where we are now hasn't been the "homiest"  of places thanks to our awful neighbors below us, the fact that we can't paint our stark white walls and the air vents splurt out black smoke. With me having been working full-time since we got married I never really had time to turn our apartment into a "settled" place - it always felt like I knew we were going to be moving in September and I can't wait to get out of here so why go to all the work of making it feel like we're going to be staying. But now...I am SO motivated to move into our new place. It feels like more of a home than an apartment. It's spaced out so that it feels much larger than it is - and we can paint and do whatever we want!
So with that said, one of my many obsessions right now are DIY wreaths. It's a simple and small project to start with and it's something that I can make 2 or 3 different ones and place them in different places. 
Here are some wreths that I found on pinterest that I just LOVE.  


I can't wait to get started! 

P.S.
Tomorrow is my birthday!
20!